Japanese Cream Puff
Hello everybody, I hope you are having an incredible day today. Today, I'm gonna show you how to prepare a special dish, Japanese Cream Puff. One of my favorites. This time, I am going to make it a little bit tasty. This is gonna smell and look delicious.
Japanese Cream Puff is one of the most popular of recent trending foods in the world. It's simple, it's fast, it tastes yummy. It's appreciated by millions every day. They're nice and they look fantastic. Japanese Cream Puff is something that I've loved my whole life.
Many things affect the quality of taste from Japanese Cream Puff, starting from the type of ingredients, then the selection of fresh ingredients, the ability to cut dishes to how to make and serve them. Don't worry if you want to prepare Japanese Cream Puff delicious at home, because if you already know the trick then this dish can be used as an extraordinary special treat.
As for the number of servings that can be served to make Japanese Cream Puff is 12 pieces. So make sure this portion is enough to serve for yourself and your beloved family.
To begin with this recipe, we have to prepare a few components. You can have Japanese Cream Puff using 18 ingredients and 20 steps. Here is how you cook it.
Cream puffs have been a childhood dessert for me as my mom made them for us kids from time to time. Today, my mom and I made the best ones yet!
Ingredients and spices that need to be Make ready to make Japanese Cream Puff:
- Choux (the “dough”)
- 56 g Water
- 56 g Milk
- 5 g Granulated sugar
- 1 g Salt
- 60 g Butter
- 75 g Flour (preferably cake flour)
- 3 eggs (at least 125g)
- Custard Cream (filling
- 6 Egg yolks
- 96 g Granulated sugar
- 30 g Corn starch
- 500 g Milk
- 50 g Butter
- 2 tsp Vanilla (extract, paste, oil, or bean)
- 100 g Whipping cream
- Garnish/decoration
- Powdered sugar (optional)
Instructions to make to make Japanese Cream Puff
- First, we’ll make the custard cream. We’ll have the egg yolks in a medium sized bowl, and the milk in a sauce pan. We’ll split the sugar roughly in half and add it into the yolks and the milk. The milk will be heated on low heat, making sure the sugar dissolves. While the milk is heating up, we’ll mix the other half of the sugar in with the egg yolks until it becomes a little bit whiter.


- When the egg yolks and sugar are whisked nicely, it incorporates air into it, ensuring that it doesn’t thicken when we pour the hot milk into the mixture.

- Now add the cornstarch into the egg yolk mixture. Ensure that the milk doesn’t burn by continually checking and stirring while you whisk the cornstarch into the egg yolks.


- Right before the milk begins to come to a boil, take it off the heat and mix it into the egg mixture gently.


- Now we will return the milk and egg mixture into a pot. When pouring the mixture in, use a sifter to catch any egg remnants or other things that didn’t mix in well.

- Place the pot on low to medium heat, cooking the milk and egg mixture slowly, ensuring that nothing is burning on the bottom. Keep stirring until it becomes thicker. Once the mixture gets thick, take it off the heat and whisk it quickly. Once whisked for a minute or two, return to the heat and cook again but don’t whisk.

- Once shiny, add the butter and the vanilla. If you are using vanilla beans, please add it into to the hot milk mixture first.


- When finished mixing, pour the custard cream into a sheet pan or tray for cooling. Cover with plastic wrap. Immediately place in the fridge to cool.

- Next is the choux. Start by sifting the flour on the side to get rid of any clumps. In a pot on medium heat, mix in the milk, butter, water, salt, and granulated sugar. Make sure it comes to a simmer, mixing everything properly. As soon as the liquid mixture comes close to a boil, turn off the heat, pour in the sifted flour and quickly mix it together.


- Continue to fully incorporate the flour into the mixture, ensuring that there are no clumps. The best way to mix this is by doing cutting motions and folding.

- Once the flour is fully mixed in, we turn the heat back on to low medium heat and cook the clump well by mixing and doing the same cutting movements, folding it repeatedly. You’ll notice that there is a thin layer being formed on the bottom of the pot. Do not scrape that off and try to mix it back in. We actually don’t want this and it is going to help keep the choux mixture clean and smooth.
- Now that it’s cooked through, remove the clump and place in a separate bowl. In here, you want to begin spreading the dough around to let it cool off quicker. Spread it apart and mix it up a few times.
- Mix in the eggs in 3 intervals. After each pour, mix thoroughly. On the last pour, add drops at a time to adjust finely. Keep adding eggs until a triangle peak can form on the spatula after pulling away.


- Place the choux dough in a piping bag with a round piping tip about 1.5 cm in diameter. If you do not have a piping bag, you can just use two spoons. I used spoons! On a sheet pan with parchment paper, make 12 equal sized pieces. Make sure they have enough space in between because they will expand in the oven. Try to replicate a dome shape rather than a frisbee shape.


- If you have eggs left over from mixing into the choux dough, use that to coat the tops of each piece. If you don’t have any more egg, you can simply use water. Use your finger to gently tap and coat the tops and sides. Use your finger to shape the pieces to be more smooth.

- In a preheated 350°F oven, bake the choux for 40 minutes. Once the 40 minutes are over, you can turn the oven off, but keep the pasties in the over for another 10 minutes to sit in the residual heat. Once the 10 minutes are up, remove from the oven to let it sit and cool.
- While they are baking, whip the whipping cream until it forms stiff and strong peaks. Now remove the custard cream that’s been chilling in the fridge. Transfer this into a bowl and mix it up as it should be firm from cooling. When the custard is mixed up and smooth, stir in the whipped cream. You can mix until thoroughly incorporated, or keep it marbled by not mixing it all in.


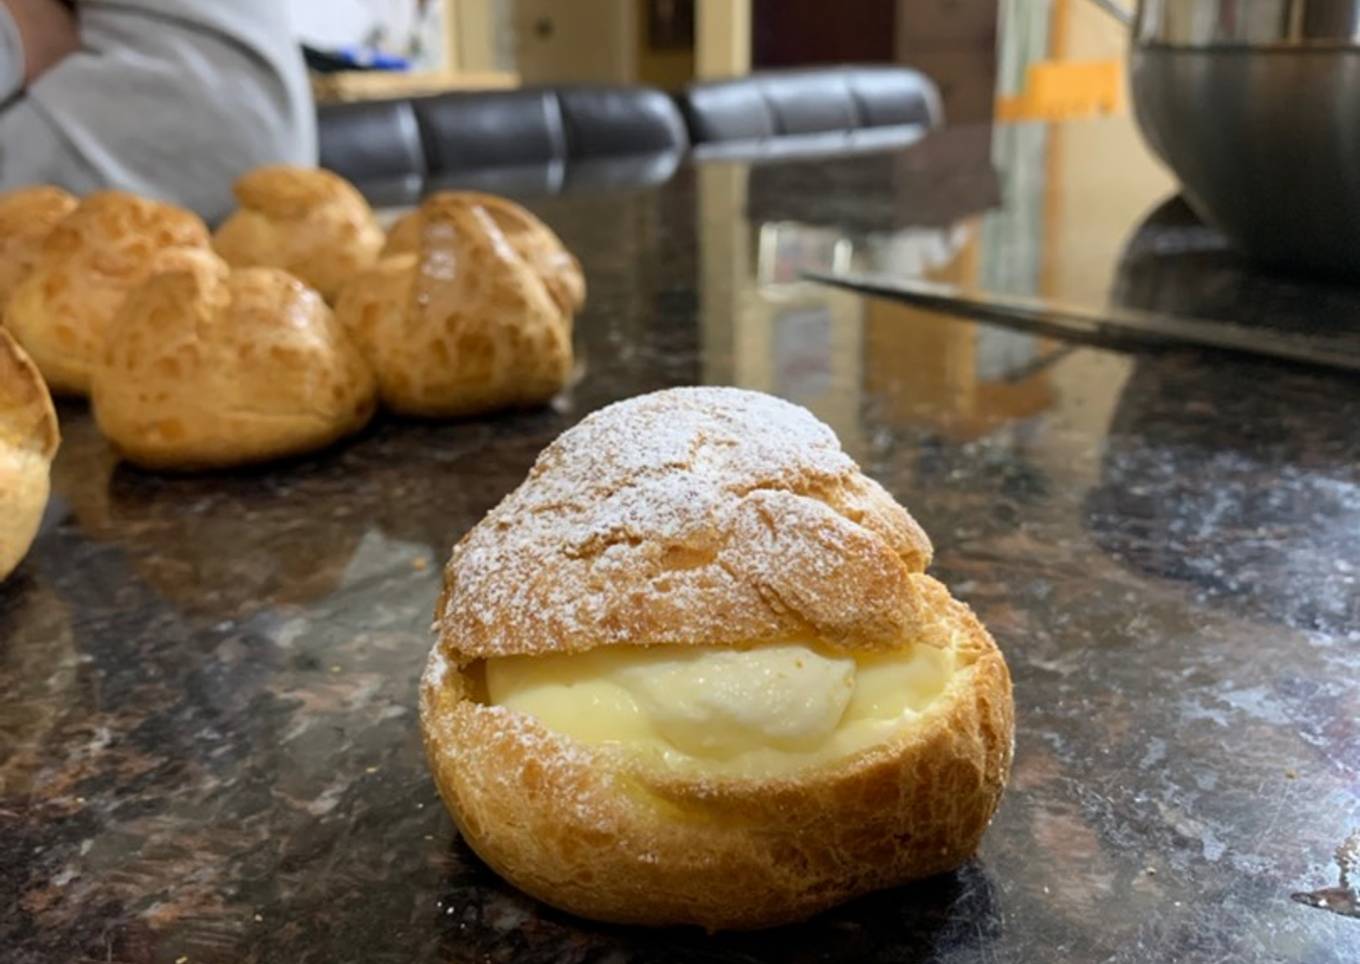
- Now let’s cut the cream puff with a serrated knife. You want to cut this not in the middle but at a 4:6 ratio. 4 on top and 6 on the bottom. This way, more of the custard cream can be filled on the bottom piece and the top will just act as a hat or lid. Inside, you may find webbing of pastry. You can remove this to hollow out the inside a bit more and make more room for more of the filling.


- Now you just fill the pasty with the custard cream using a piping bag or just with a spoon. Once filled, place the top piece back on and you’re done! As an added decoration, sprinkle powdered sugar on top.


- Hope you enjoyed eating your hard work!
As your experience as well as self-confidence grows, you will certainly discover that you have much more natural control over your diet regimen and adapt your diet regimen to your individual preferences with time. Whether you want to offer a recipe that utilizes less or more ingredients or is a little bit essentially zesty, you can make easy adjustments to achieve this objective. In other words, start making your recipes promptly. When it comes to basic cooking skills for newbies you do not require to learn them however only if you master some straightforward cooking techniques.
This isn't a full overview to fast as well as very easy lunch dishes yet its great something to chew on. Hopefully this will obtain your creative juices flowing so you can prepare delicious dishes for your family without doing way too many square meals on your journey.
So that is going to wrap it up with this exceptional food Step-by-Step Guide to Make Super Quick Homemade Japanese Cream Puff. Thanks so much for reading. I am sure you can make this at home. There is gonna be interesting food in home recipes coming up. Remember to bookmark this page on your browser, and share it to your family, friends and colleague. Thanks again for reading. Go on get cooking!


Comments
Post a Comment